 United States
How to Clean and Maintain Your Vape Tank
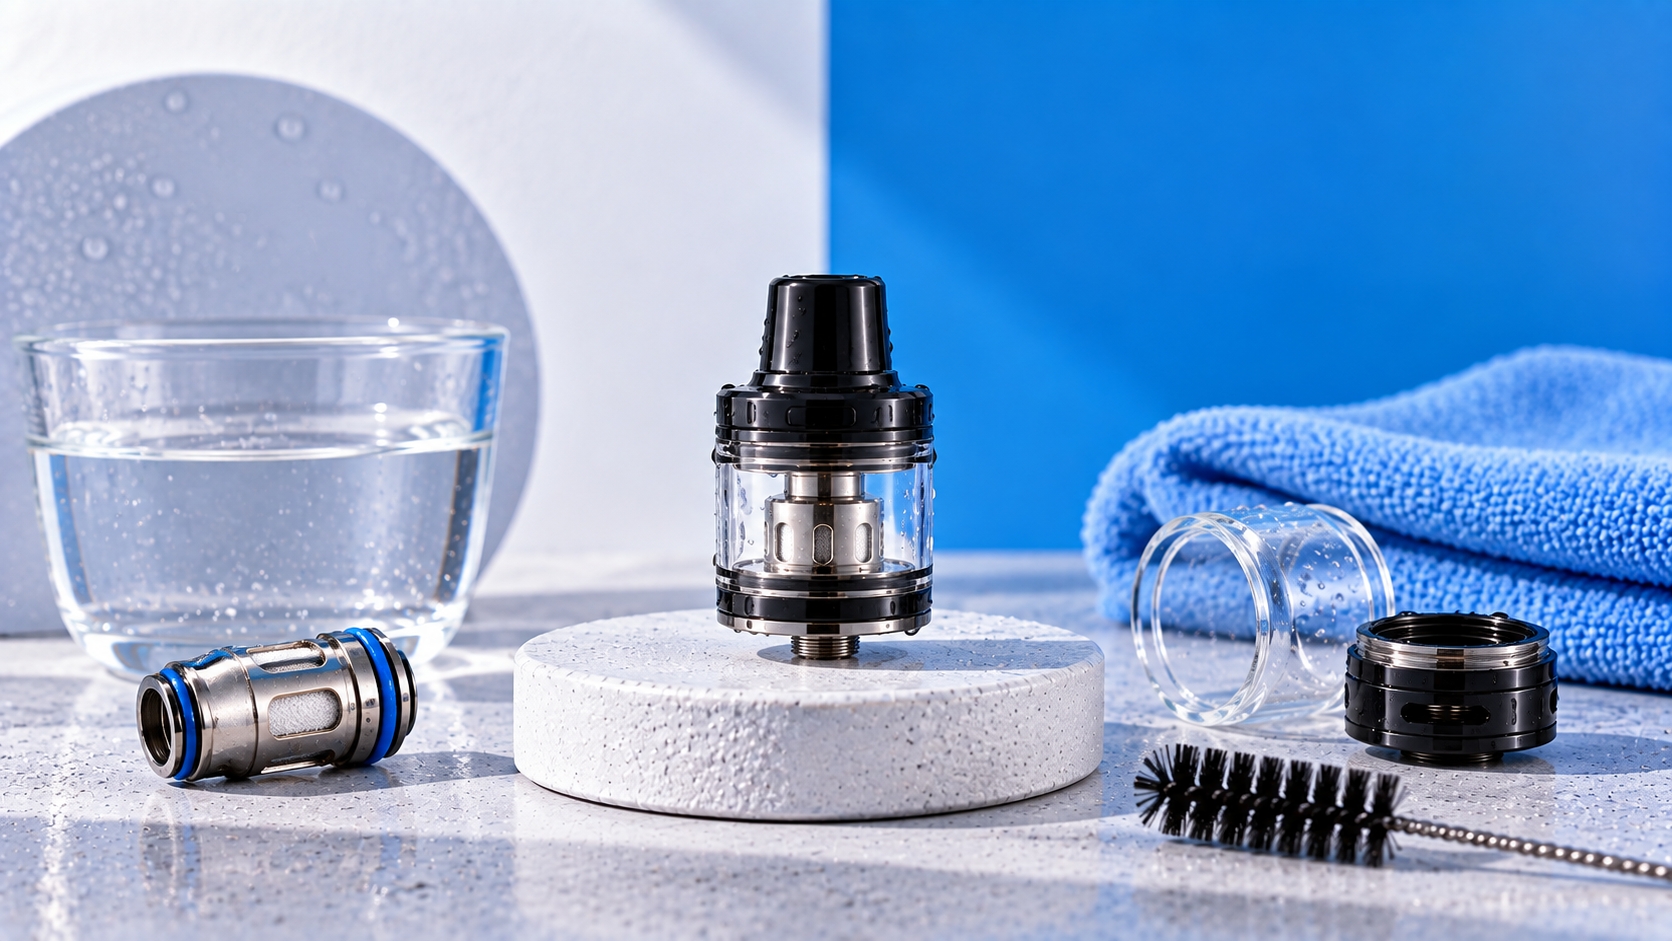
Tank designs and materials vary. Before disassembling or cleaning your tank, check the manufacturer's instructions for your specific model. Only clean components intended to be removed and washed, and keep electronic parts away from water.
E-liquid residue, condensation, and traces of previous flavors can gradually collect inside a refillable vape tank. Cleaning the tank when buildup becomes noticeable, when changing flavors, or as recommended by the manufacturer can help keep its user-serviceable components free of residue.
The important part is knowing what can actually be washed. The tank body, glass, mouthpiece, seals, coil, and electronic device are not automatically cleaned the same way. This guide focuses specifically on cleaning a removable refillable tank without turning tank maintenance into coil or device maintenance.
When Does a Vape Tank Need Cleaning?
There is no universal cleaning interval for every tank. How quickly residue develops depends on the tank design, e-liquid, frequency of use, flavor changes, and manufacturer recommendations.
A tank may be ready for cleaning when you notice:
- Visible e-liquid residue or buildup inside washable components
- Flavor from a previous e-liquid carrying into a new one
- Condensation or residue around accessible tank components
- A need to inspect seals, glass, threading, or other removable parts
- Manufacturer instructions calling for routine tank cleaning
Vaporesso's tank-cleaning guidance similarly describes old e-liquid residue accumulating inside a tank and recommends removing the remaining liquid, rinsing appropriate tank components with warm water, and allowing them to dry before reassembly. Vaporesso guidance provides one manufacturer example, but the instructions for your own tank should take priority.
What You Need
For many washable tank components, basic cleaning does not require an extensive cleaning kit. Depending on the manufacturer's instructions, useful items may include:
- Warm water
- A clean microfiber cloth or paper towel
- Cotton swabs for accessible crevices or threading
- A clean surface for drying and organizing small components
Before using soap, alcohol, or another cleaner: confirm that it is suitable for the materials in your particular tank. Plastics, seals, coatings, adhesives, and other components can respond differently to cleaning agents.
How to Clean a Vape Tank Step by Step
1. Remove the Tank From the Device
Turn off the device where applicable and detach the tank before cleaning. Do not rinse or immerse the mod, battery section, charging port, or other electronic components.
Empty the remaining e-liquid according to the manufacturer's instructions before taking the tank apart.
2. Disassemble the User-Serviceable Parts
Follow the tank manual when removing components such as the mouthpiece, glass section, base, and coil. Tank construction differs, and some components are not designed for routine removal.
Keep track of small seals and O-rings during disassembly. Inspect accessible seals, glass, and threading for cracks, deformation, or other visible damage before cleaning.
3. Remove the Coil Before Washing the Tank
Do not automatically wash a replaceable coil head along with the tank. Manufacturer guidance can distinguish between washable tank components and the installed coil; Vaporesso, for example, advises rinsing glass and metal tank parts while not washing the coil. :contentReference[oaicite:1]{index=1}
Coil cleaning is a separate subject because commercial replaceable heads and serviceable rebuildable coils are constructed differently. The dedicated coil cleaning guide covers those distinctions.
4. Rinse Appropriate Tank Components
For components the manufacturer identifies as washable, warm water can remove residual e-liquid and loose buildup. Vaporesso's published tank guidance uses warm-water rinsing as its basic cleaning method. :contentReference[oaicite:2]{index=2}
Use a clean cloth or cotton swab where appropriate to remove accessible residue without damaging seals, threading, or other small parts. Avoid forcing tools into airflow passages or components that are not intended to be disassembled.
5. Handle Stubborn Residue Carefully
If warm water does not remove stubborn residue, check the manufacturer's cleaning recommendations before introducing another cleaning agent.
Vaporesso notes that prolonged alcohol exposure or high temperatures can deteriorate some plastic, vinyl, or rubber components, illustrating why material compatibility matters when choosing a deeper cleaning method. :contentReference[oaicite:3]{index=3}
Avoid boiling tank components or soaking the complete assembled tank in a solvent unless the manufacturer specifically states that the materials and components support that method.
6. Let Everything Dry Completely
Remove excess water with a clean cloth or paper towel where appropriate, then allow washable components to air-dry completely before reassembly.
A fixed drying time such as 10 or 30 minutes cannot guarantee that every tank is dry. Tank geometry, trapped water, airflow passages, room conditions, and materials all affect drying time. Check the components rather than relying only on the clock.
7. Inspect and Reassemble the Tank
Once the parts are fully dry, inspect the glass, seals, threading, and other user-serviceable components again. Reassemble them in the correct position according to the manufacturer's instructions.
Do not overtighten threaded components. Make sure seals are seated correctly and the coil is installed as intended before refilling.
What About the Coil?
Tank cleaning and coil cleaning should not be treated as the same task. A tank can often be disassembled and its appropriate glass or metal components rinsed, while a replaceable coil head contains absorbent wick material and requires different handling.
If the existing coil has persistent burnt flavor, visible deterioration, or noticeably reduced performance, cleaning the tank will not necessarily restore it. The coil lifespan guide explains the factors that affect coil aging and replacement signals.
When installing a new coil after cleaning the tank, follow its preparation instructions before normal operation. More detail on wick saturation is covered in the dedicated priming guide.
Inspect O-Rings, Glass, and Seals
Cleaning is also an opportunity to inspect the parts responsible for keeping the reservoir assembled and sealed. Look for cracked glass, damaged or displaced O-rings, worn seals, damaged threading, and other visible problems.
If the tank begins leaking after reassembly, first confirm that the correct seals and components are seated properly. Persistent leaking may have causes beyond cleanliness, including coil installation, filling, damaged seals, reservoir damage, or other design-specific issues. Those causes are covered separately in the tank leak guide.
Cleaning When Changing E-Liquid Flavors
Residual e-liquid can remain on tank surfaces after the reservoir appears empty, allowing some of the previous flavor to carry into the next refill. Cleaning appropriate tank components between substantially different flavors can reduce this carryover.
The coil can retain the previous e-liquid as well, so cleaning the tank alone may not immediately eliminate the old flavor. Whether the coil should remain installed or be replaced depends on its condition and the type of coil being used.
Common Tank-Cleaning Mistakes
- Cleaning while attached to the device: Separate the tank from electronic components before using water.
- Washing every component together: Coils and electronic parts may require different handling from washable tank sections.
- Using an unsuitable cleaner: Confirm material compatibility before using alcohol, soap, or another cleaning agent.
- Reassembling while wet: Allow cleaned components to dry completely first.
- Losing or misplacing seals: Keep track of O-rings and confirm their correct position during reassembly.
- Assuming cleaning fixes damage: Cracked glass, damaged seals, stripped threading, or other physical problems may require replacement rather than additional cleaning.
Troubleshooting After Cleaning
| Problem | What to Check |
|---|---|
| Tank leaks | O-rings, seals, glass seating, coil installation, threading, and correct assembly |
| Unexpected flavor | Remaining water or cleaning residue, old e-liquid in the coil, or incomplete tank cleaning |
| Gurgling | Excess liquid, coil installation, trapped liquid, or incorrect reassembly |
| Parts will not fit correctly | Component orientation, threading, seals, and the manufacturer's assembly instructions |
Frequently Asked Questions
How often should I clean my vape tank?
There is no single schedule that applies to every tank. Usage, e-liquid residue, flavor changes, tank design, and manufacturer recommendations can all affect cleaning frequency. Clean the tank when its condition requires it and follow the maintenance instructions for your specific model.
Can I rinse a vape tank with water?
Many removable glass and metal tank components can be rinsed with warm water, and manufacturers such as Vaporesso describe this method in their tank-cleaning guidance. However, verify the instructions for your specific tank and separate electronic or non-washable components first. :contentReference[oaicite:4]{index=4}
Can I use isopropyl alcohol to clean my tank?
Do not treat alcohol as universally suitable. Tank materials differ, and prolonged solvent exposure can affect some plastics, rubber, vinyl, seals, or coatings. Follow the manufacturer's material and cleaning guidance before using it. :contentReference[oaicite:5]{index=5}
Should I wash the coil when cleaning the tank?
Not automatically. Replaceable coil heads contain wick material and should be handled according to their manufacturer's instructions. Vaporesso, for example, specifically distinguishes washing the tank's glass and metal components from washing the coil. :contentReference[oaicite:6]{index=6}
How long should a vape tank dry after cleaning?
Allow the cleaned components to dry completely rather than relying on one universal number of minutes. Drying time varies with the tank design, amount of trapped water, materials, airflow, and room conditions.
Why is my tank leaking after I cleaned it?
Check whether the O-rings, glass, coil, base, and other user-serviceable components were returned to their correct positions. A displaced or damaged seal, incorrect coil installation, or improper assembly can contribute to leaking.
The Bottom Line
Cleaning a vape tank is primarily about removing residual e-liquid from appropriate user-serviceable components, inspecting the tank for wear or damage, allowing cleaned parts to dry completely, and reassembling them correctly.
Keep the task tank-specific. Coil cleaning, coil replacement, leak diagnosis, battery care, and broader device maintenance each involve different considerations and should be handled according to their dedicated guidance and the instructions for the hardware involved.
Manufacturer Guidance & Further Reading
Last reviewed: September 2026. Tank construction and cleaning requirements vary by manufacturer and model. Follow the cleaning, disassembly, drying, and reassembly instructions supplied for your specific tank.