 United States
Vape Coil Guide: Maintenance, Replacement, and Performance
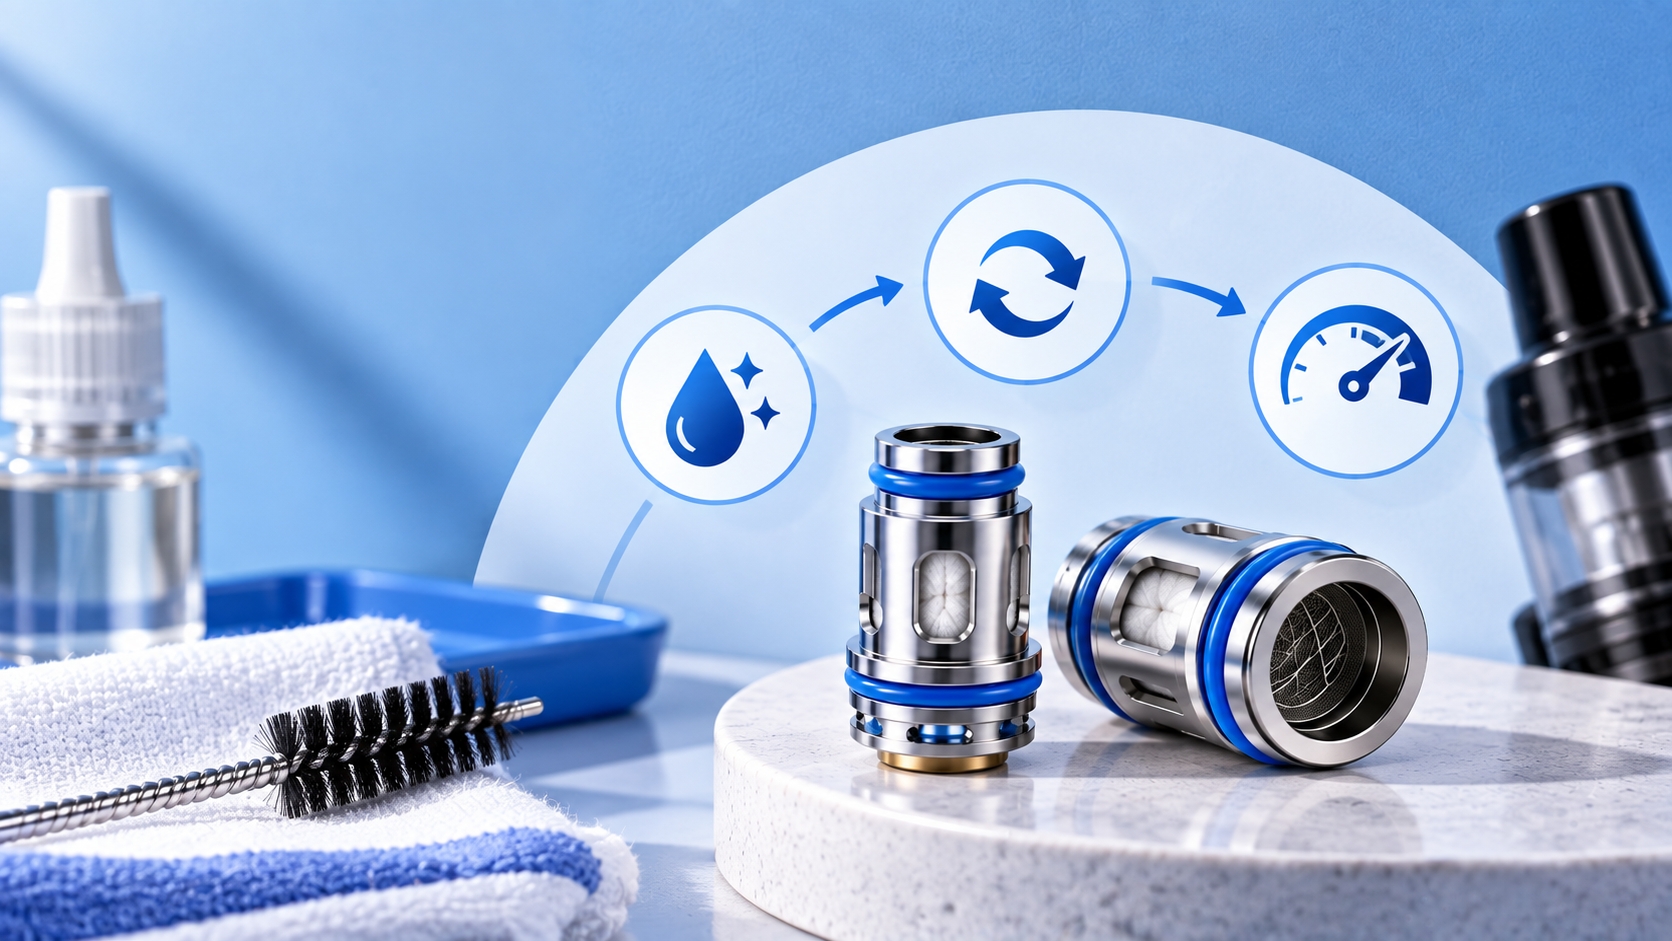
Vape coils, replacement procedures, resistance ranges, and operating power vary by device. Always use components specifically approved for your tank or pod and follow the manufacturer's instructions for installation, priming, wattage, maintenance, and replacement.
Burnt taste, weak vapor, flooding, and inconsistent performance are often associated with the coil or wick, but those symptoms can also come from airflow, e-liquid supply, incorrect settings, seals, or poor connections.
Understanding what a coil actually does—and how compatibility, resistance, power, saturation, and maintenance work together—makes troubleshooting and replacement much easier.
What Is a Vape Coil?
A vape coil is the heating element inside an atomizer, pod, or tank. In many replaceable coil heads, the heating element is surrounded by an absorbent wick, commonly cotton or another material selected by the manufacturer.
When the device supplies electrical power, the heating element increases in temperature while e-liquid from the saturated wick is converted into aerosol. Airflow then carries that aerosol through the device.
This process depends on more than the coil itself. Resistance, applied power, coil geometry, airflow, e-liquid composition, and wick saturation can all influence operating conditions.
How Do Vape Coils Work?
The device applies electrical power to a resistive heating element. The relationship among voltage, resistance, current, and power helps determine how the circuit operates, but resistance alone does not tell you how hot a finished coil will become.
Laboratory research published in PLoS ONE found that coil temperature changed with applied power, resistance, e-liquid composition, and particularly coil wetness.
That means statements such as "higher wattage always means a hotter coil" or "lower resistance always produces more vapor" are too simple when applied across different devices.
For a clearer explanation of the electrical side, see the Ohm's Law guide.
Common Coil Materials
Heating-element materials have different electrical characteristics and should only be used in operating modes supported by the device.
Kanthal: Commonly used for wattage-controlled operation and generally not used for conventional temperature-control modes.
Stainless steel: Certain stainless-steel alloys can be used in wattage mode and, with compatible hardware, temperature-control mode.
Nickel: Nickel wire such as Ni200 has historically been used with compatible temperature-control systems and should only be used according to device specifications.
Titanium: Titanium has also been used for compatible temperature-control setups and requires appropriate hardware and settings.
Research examining resistance, coil age, and heating-element metal has shown that these variables can interact with aerosol chemistry in complex ways, reinforcing why coil material should be considered alongside power and device design rather than as a simple "better flavor" ranking. See the coil-material study.
Resistance and Power: Use the Coil's Actual Specifications
Resistance is measured in ohms (Ω), but there is no single resistance threshold that universally defines the best MTL, DTL, flavor, or vapor setup.
Manufacturers design individual coils with specific resistance values, geometry, airflow needs, and recommended wattage ranges. Two coils with similar resistance can therefore perform very differently.
Important: Use the wattage range printed on the exact coil or specified by its manufacturer rather than selecting power from a generic resistance chart.
A study from the European Commission Joint Research Centre found that carbonyl emissions increased substantially when the tested coils were operated above their manufacturer's recommended power range. View the power-setting research.
Coil Compatibility Comes Before Performance
The first question when replacing a coil should be whether it is designed for the exact tank, pod, or device—not whether its resistance looks similar to the old one.
Before buying replacement coils, confirm the coil family, device compatibility, resistance option, and manufacturer-specified operating range.
A coil that physically fits should not automatically be assumed compatible. Check the device manual, packaging, or manufacturer's official compatibility information.
Signs a Coil May Need Attention
Persistent burnt taste: This can indicate inadequate saturation or wick damage. Check liquid level and operating settings first. If the burnt taste persists, replacing the coil may be appropriate.
Reduced flavor: Coil age or residue may contribute, but airflow, liquid choice, power settings, and tank cleanliness can also affect flavor.
Reduced vapor: Inspect battery charge, airflow, power, coil condition, and electrical connections before assuming the coil alone is responsible.
Gurgling or flooding: Excess liquid around the coil can cause these symptoms, but installation, seals, liquid viscosity, and tank design may also be involved.
For symptoms specifically associated with poor liquid supply, the dry hit guide provides additional troubleshooting.
How to Replace a Vape Coil
Replacement procedures differ among pods, tanks, press-fit coils, screw-in coils, and rebuildable atomizers, so the manufacturer's instructions should always come first.
1. Turn Off the Device
Switch the device off before opening the tank or removing user-serviceable components to reduce the chance of accidental activation.
2. Confirm the Replacement Coil
Check the exact coil family and compatibility with your tank or pod. Do not substitute a coil simply because its resistance appears similar.
3. Remove the Old Coil
Follow the tank or pod manufacturer's instructions for accessing and removing the coil. Some designs screw into place, while others use a push-fit connection.
4. Install the New Coil
Seat the replacement correctly without forcing or overtightening it. Confirm that seals and O-rings remain properly positioned.
5. Prime According to Manufacturer Instructions
The goal of priming is to ensure that the wick is adequately saturated before normal use. Priming procedures and waiting times vary by coil design, so avoid treating "5–10 minutes" as a universal rule.
This matters because research has shown that inadequate coil wetness can substantially affect heating temperature. For more detail, see the guide to priming coils.
How to Help Vape Coils Last Longer
- Prime correctly: Follow the manufacturer's preparation instructions for every new coil.
- Stay within the specified wattage range: Avoid operating above the coil's supported power.
- Maintain adequate liquid supply: Avoid repeatedly operating a coil when the wick is inadequately saturated.
- Give the wick time to resupply: Continuous back-to-back use can outpace liquid delivery in some setups.
- Use suitable e-liquid: Follow the device or coil manufacturer's recommendations rather than assuming one VG/PG ratio works for every setup.
- Maintain the tank or pod: Clean user-serviceable components and inspect seals according to manufacturer instructions.
There is also no universal rule that a coil must be replaced every one or two weeks. Coil aging depends on the hardware, liquid, power, saturation, and use pattern. The more detailed coil lifespan guide covers those variables separately.
Can You Clean a Vape Coil?
Cleaning depends heavily on coil construction.
Commercial replacement coil heads: Follow the manufacturer's instructions. Do not automatically soak sealed coil heads in vodka, rubbing alcohol, or another solvent. Their absorbent wick and internal construction may not be designed for solvent cleaning, and cleaning cannot restore already damaged wick material.
Rebuildable atomizers: These are specifically designed so experienced users can access and replace the wick and, depending on the design, service the heating element separately.
If you are working with serviceable hardware, see the dedicated coil building guide and follow the atomizer manufacturer's maintenance procedure.
Does Coil Age Change Performance?
Coil aging is more complex than simply losing flavor over time. Heating cycles, wick condition, residue, liquid composition, and component materials can change the conditions inside the atomizer.
A 2023 study examining coil resistance, age, and metal material found that coil age affected carbonyl formation even though temperature and aerosol mass did not change uniformly with age. The researchers cautioned that aerosol chemistry cannot be generalized across the entire lifetime of a coil.
That is another reason replacement should be guided by actual performance, component condition, and manufacturer recommendations rather than one fixed number of days or puffs.
Frequently Asked Questions
How long do vape coils last?
There is no universal lifespan. Coil construction, power, e-liquid, saturation, frequency of use, and maintenance all influence how quickly a coil changes.
Can a burnt coil be fixed?
If the wick has been permanently scorched or the coil remains burnt-tasting after liquid supply and settings are corrected, replacement is generally more appropriate than attempting to restore it.
Why does a new coil taste burnt?
Possible causes include inadequate saturation, insufficient e-liquid supply, incorrect installation, or operation outside the recommended wattage range. Don't assume poor priming is the only possible cause.
Do I need a new coil every time I change e-liquid?
Not necessarily. Changing flavor alone doesn't automatically require coil replacement. A new coil may be useful if the existing wick is worn, damaged, heavily saturated with a previous flavor, or performing poorly.
What happens if a new coil isn't properly saturated?
An inadequately saturated wick may not supply enough liquid to the heating element, which can contribute to excessive heating and a dry or burnt taste.
What coil is best for larger vapor production?
Choose a manufacturer-supported coil designed for higher-output, open-airflow operation rather than relying on a fixed resistance such as below 0.5Ω. Coil construction, power, airflow, and liquid supply all influence vapor production.
How do I know when a coil needs replacing?
Persistent burnt taste, significant performance decline, visible damage in serviceable hardware, or manufacturer-defined replacement indicators are stronger signals than simply reaching a predetermined age.
The Bottom Line
A vape coil works as part of a larger system that includes the device, power setting, airflow, wick, e-liquid, and battery. Choosing and maintaining one correctly starts with compatibility and manufacturer specifications—not generic resistance or replacement rules.
If performance changes, check liquid supply, coil condition, installation, airflow, power, and seals before assuming one component is responsible. When a coil remains burnt, damaged, or abnormal after basic troubleshooting, replacement is generally the more appropriate next step.
Research & Further Reading
- PLoS ONE — Measurement of Heating Coil Temperature for E-Cigarettes
- Tobacco Induced Diseases — Influence of Battery Power Setting on Carbonyl Emissions
- Chemical Research in Toxicology — Effects of Coil Resistance, Age, and Metal Material
Last reviewed: September 2026. Coil design, compatibility, resistance, materials, power limits, and maintenance requirements vary by manufacturer and device. Use official hardware specifications as the primary reference when installing, operating, cleaning, or replacing a coil.