Muted flavors? Weak vapor? Leaks?
When was the last time you cleaned your vape tank? If your vape isn’t hitting like it used to, chances are your tank is overdue for a good clean. Whether you’re just starting out or you’re a seasoned vaper, a clean tank = a premium vape experience.
A properly maintained vape tank delivers:
✔ Richer flavor
✔ Smoother performance
✔ Longer tank lifespan
This guide covers everything—from disassembling a tank to troubleshooting after cleaning—so you can keep your setup in top condition.
Quick Navigation
- Benefits of a Clean Vape Tank
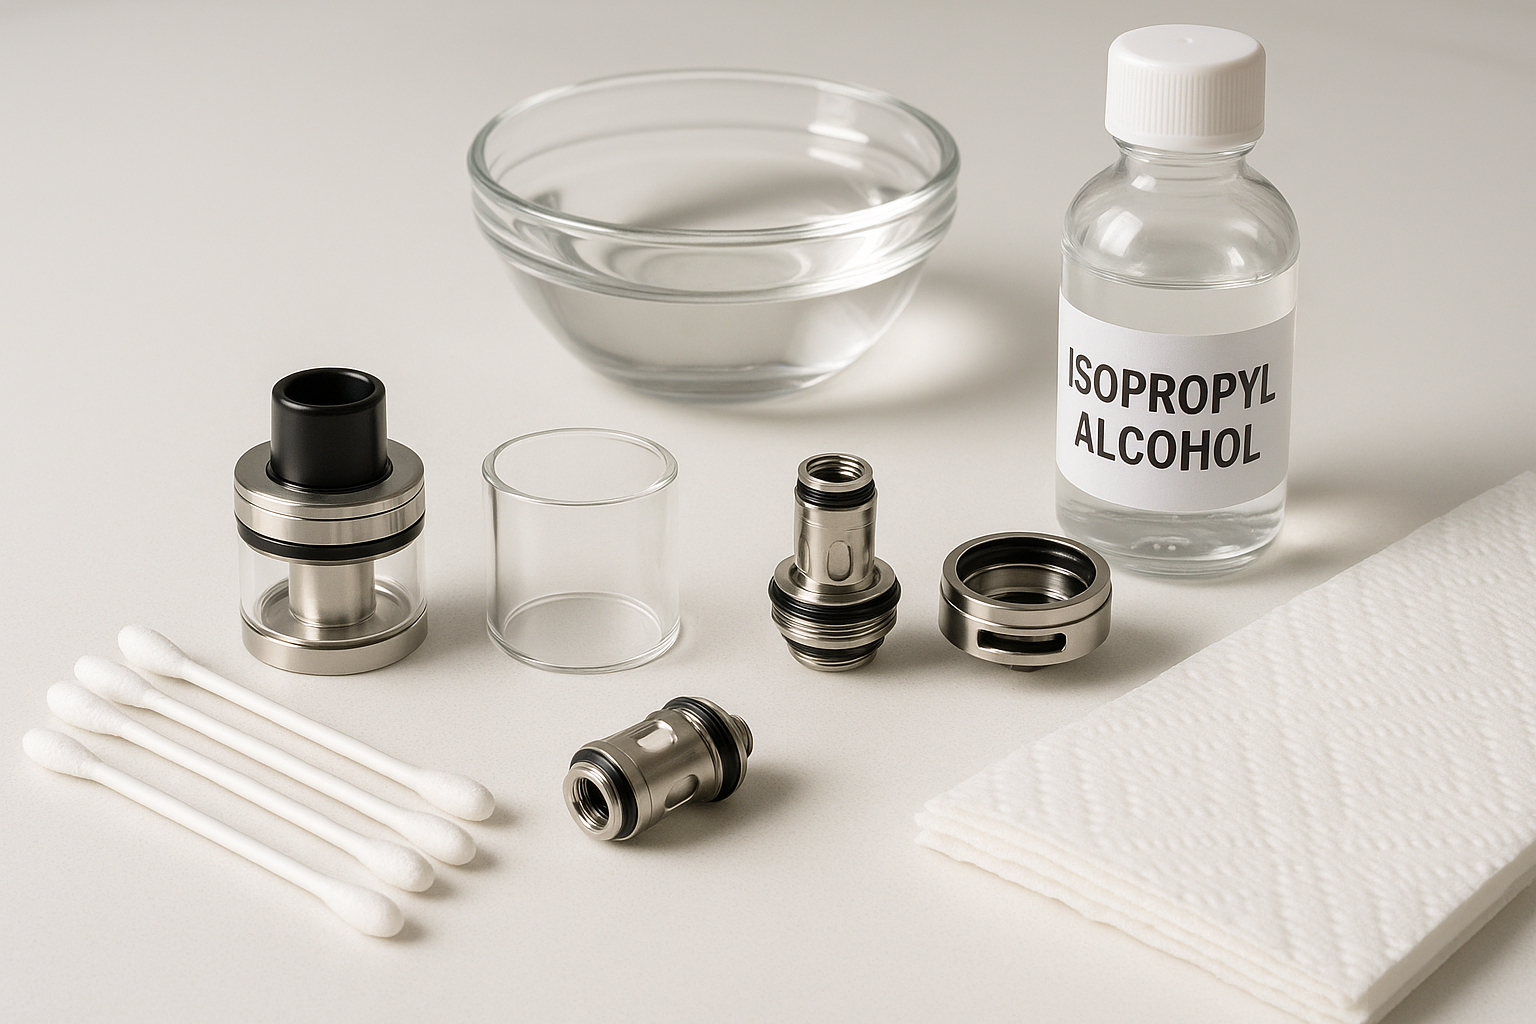
- Tools You’ll Need
- Step-by-Step Cleaning Guide
- Tips for Tank Maintenance
- Troubleshooting After Cleaning
- Final Thoughts
Benefits of a Clean Vape Tank
Cleaning your tank isn’t just routine—it’s essential. Here’s why:
-
Enhanced Flavor – No more dull, muted taste. Enjoy your e-liquids as intended.
-
Improved Performance – Residue buildup affects airflow and coils, lowering vapor output.
-
Extended Longevity – Protect your investment with tanks like the HorizonTech Falcon Legend or Lost Vape Centaurus SubOhm.
Tools You’ll Need for Cleaning
No fancy kit required—just these basics:
-
Warm water (distilled if possible)
-
Mild dish soap (optional)
-
Isopropyl alcohol wipes (for tough residue)
-
Cotton swabs
-
Soft cloth or paper towels
-
Small toothbrush (for scrubbing stubborn buildup)
-
Drying stand or flat surface for air-drying
Step-by-Step Guide to Cleaning Your Vape Tank
Step 1: Disassemble the Tank
-
Remove from mod.
-
Take apart glass, mouthpiece, and coil.
-
Discard old e-liquid.
WARNING: Be careful when removing the coil—it’s delicate.
Step 2: Rinse & Clean
-
Basic Clean: Warm water soak; mild soap + toothbrush if needed.
-
Deep Clean: Wipe sticky spots with alcohol wipes (never soak electronics).
-
Coil Care: Wipe gently with cotton swab—replace if too dirty.
Step 3: Rinse & Dry
-
Rinse well to remove soap/alcohol residue.
-
Pat dry with cloth.
-
Air-dry 30+ minutes before reassembly.
Step 4: Reassemble & Test
-
Put all parts back together.
-
Fill with e-liquid.
-
Test for smooth performance.
Tips for Maintaining Your Vape Tank
-
Clean Consistently – Light vapers: every 2 weeks. Heavy vapers or flavor switchers: weekly.
-
Use Quality E-Liquids – Cheap/sugary juices cause faster gunk buildup.
-
Store Properly – Upright, dry, away from heat/sunlight.
-
Replace Worn Parts – Coils, glass, and o-rings wear out—keep spares ready.
Troubleshooting Common Issues After Cleaning
-
Leaks → Check o-rings, glass seating, and coil placement.
-
Weird Flavor → Ensure no soap/alcohol residue; check coil freshness.
-
Assembly Problems → Double-check manual
Keep Your Vape in Top Condition
Cleaning your vape tank regularly = better flavor, smoother hits, and a longer-lasting setup. Whether you’re rocking a Freemax M Pro 3 or a simple starter kit, maintenance makes all the difference.
Next steps for you: Got cleaning hacks or product tips? Drop a comment below—we want to hear from you!
Want expert vape care guides & reviews straight to your inbox? Subscribe to our newsletter and never miss a tip.
Don’t miss a puff—stay ahead of the game.


