A Complete Guide to Causes, Fixes, and Prevention
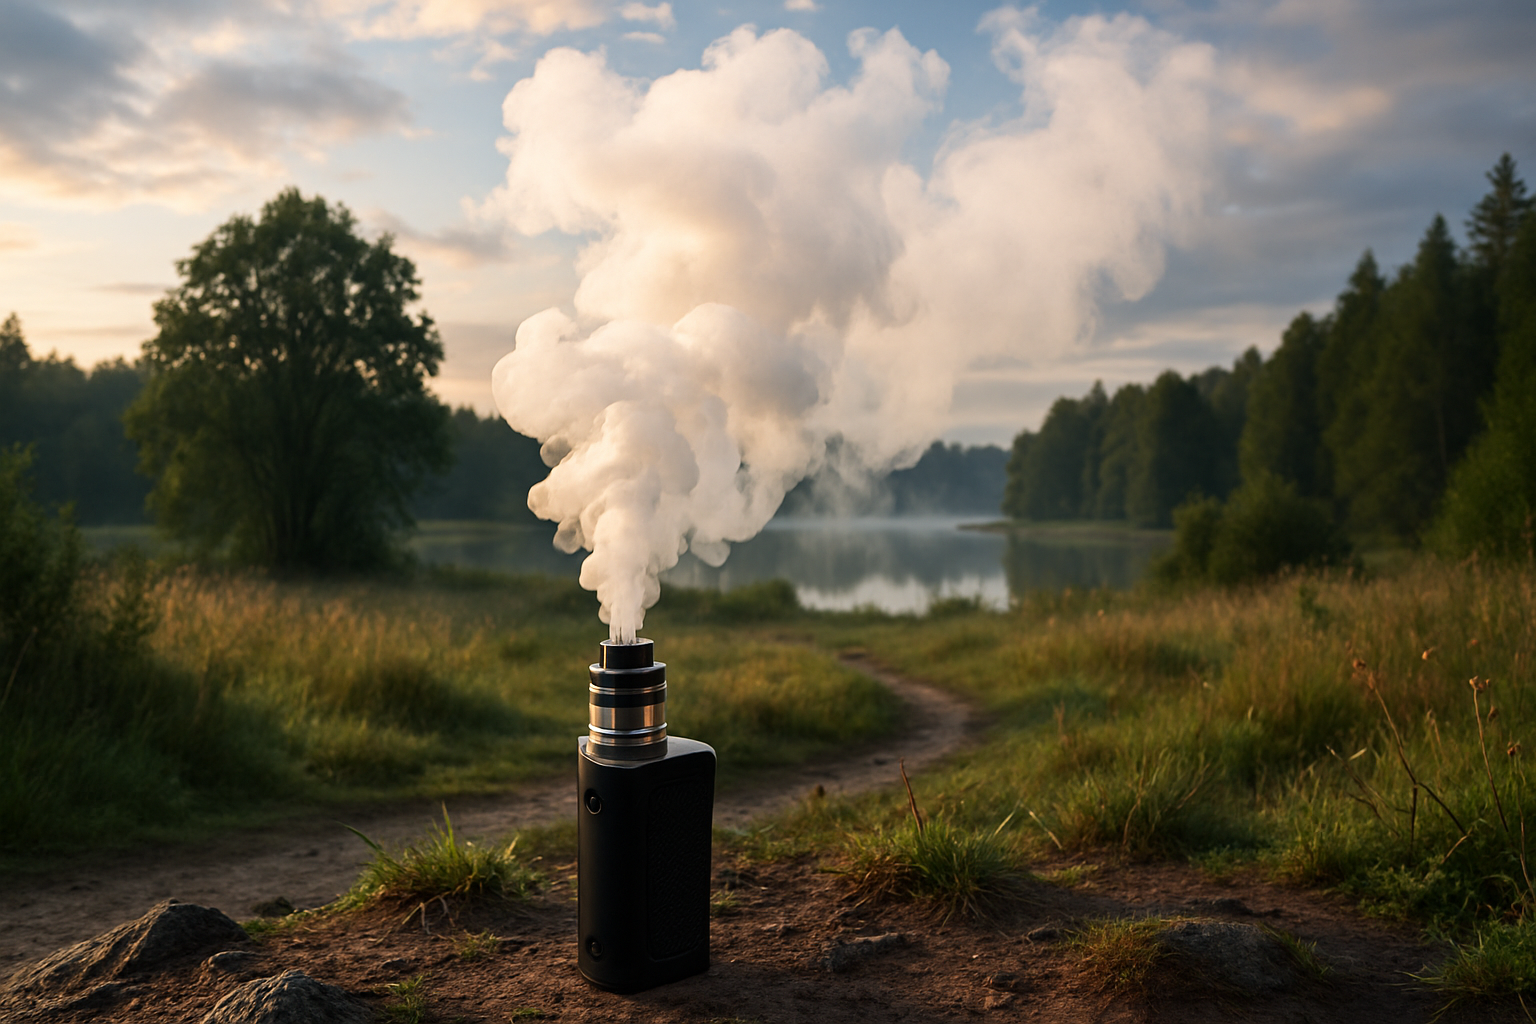
Ever had your vape suddenly fire on its own—even when you didn’t touch it? It’s one of the most alarming problems vapers face. Auto-firing isn’t just annoying—it can drain your battery, damage your device, and even pose safety risks if ignored. But here’s the good news: with the right knowledge, you can troubleshoot and prevent this issue before it becomes dangerous.
This guide breaks down exactly why auto-firing happens, how to fix it step by step, and what you can do to stop it from happening again.
Quick Navigation
- What is Auto-Firing and Why It Matters
- Common Causes of Auto-Firing
- Step-by-Step Troubleshooting Guide
- How to Prevent Auto-Firing
- When to Seek Professional Help
- Final Takeaway + Community Tips
What is Auto-Firing and Why Should You Be Concerned?
When a vape auto-fires—activating without the fire button being pressed—it can put your device and health at risk. From overheating to battery drain, these problems highlight why vape battery safety should always be a top priority.
Understanding the Causes of Auto-Firing
Auto-firing is usually triggered by one of these common culprits:
-
E-Liquid Leaks – Auto-firing is often triggered by e-liquid leaks inside the device, as spills can reach sensitive internal components.
-
Faulty Fire Button – Stuck, jammed, or worn-out buttons are frequent offenders.
-
Poor Contact Between Components – Loose connections confuse the chipset.
-
Chipset or Circuit Malfunctions – Damaged boards can misfire unpredictably.
-
Fake/Damaged Batteries – Using fake or damaged batteries can cause voltage irregularities and trigger auto-firing.
Troubleshooting Auto-Firing Issues
If your vape suddenly starts auto-firing, here’s what to do:
Step 1. Turn Off Immediately – Shut it down or remove the battery.
Step 2. Inspect the Fire Button – Clean out lint, dust, or e-liquid buildup.
Step 3. Check for Leaks – Dry internal components thoroughly.
Step 4. Tighten Connections – Secure coil, battery, and pins.
Step 5. Test Another Battery – Rule out battery issues.
Step 6. Reset the Device – Some vapes have a factory reset option.
Step 7. Monitor After Reassembly – monitor your device carefully and don’t forget regular vape coil maintenance to prevent further issues.
Preventing Vape Auto-Firing Issues
“Prevention is better than cure” applies perfectly to vaping. Stay ahead of issues with these habits:
-
Regular Cleaning – Especially around the button and connections.
-
Check for Leaks – Ensure seals are secure.
-
Use Quality Batteries – Stick to reputable, vape-safe brands.
-
Gentle Usage – Don’t jam the fire button aggressively.
-
Routine Inspections – Catch issues early.
-
Upgrade If Needed – Older devices are more prone to failure.
When to Seek Professional Help
Not every fix can be done at home. Get expert support if:
-
Auto-firing continues despite troubleshooting.
-
Internal damage is visible.
-
The chipset/circuit board is the issue.
-
You’re not confident making safe repairs yourself.
Take Charge of Your Vaping Experience
Auto-firing can be scary—but with the right steps, you can fix it, prevent it, and keep your vape safe. Whether you’re a casual vaper or a daily cloud-chaser, knowing how to handle this issue protects both your device and your experience.
Now it’s your turn: Have you ever dealt with auto-firing? How did you fix it? Share your tips in the comments below so fellow vapers can learn from your experience!
Want more safety tips and troubleshooting guides? Join our newsletter and never miss a vaping guide that keeps your sessions smooth, flavorful, and safe.