Everything You Need to Know to Keep Your Vape Performing at Its Best
Have you ever had a vaping session ruined by a burnt taste or weak vapor? You’re not alone. These common frustrations often trace back to one key component — your vape coil. These small yet essential parts are the backbone of your vape setup, delivering smooth hits, dense clouds, and rich flavor. But without proper maintenance or timely vape coil replacement, your vaping experience can quickly take a turn for the worse.
Want to take your vaping to the next level? This guide covers everything you need to know about vape coils — from how they function to when and how to replace them. Follow these tips to keep your coils in peak condition and ensure every session is as enjoyable as the first!
Quick Navigation
- Understanding Vape Coils
- Types of Vape Coils
- Signs You Need to Replace Your Vape Coil
- How to Replace a Vape Coil (Step-by-Step)
- How to Make Vape Coils Last Longer
- How to Clean a Vape Coil
- Frequently Asked Questions (FAQs)
- Enhance Your Vaping Experience
Understanding Vape Coils
What Are Vape Coils?
Vape coils are heating elements wrapped in wicking material, usually cotton. They’re located inside the vape tank or pod, and their job is to heat the e-liquid (or e-juice) until it turns into vapor. The wick absorbs the liquid, while the coil heats it to produce smooth, flavorful vapor.
If you’ve ever wondered, “What are vape coils?” — think of them as the heart of your vape. Without them, there’s no vapor production, no flavor, and no clouds.
How Do Vape Coils Work?
When the battery activates, it sends power to the coil. The coil heats up and vaporizes the e-liquid in the wick. The higher the variable wattage, the hotter the coil burns — affecting both flavor and vapor production.
For example, sub-ohm vaping (using coils below 1 ohm) delivers massive clouds, while higher-resistance coils offer smoother hits.
Types of Vape Coils
Not all replacement coils are created equal. Different materials affect performance and flavor:
-
Kanthal – Ideal for variable wattage vaping; affordable and reliable.
-
Stainless Steel (SS) – Works in both wattage and temperature control vaping modes.
-
Nickel (Ni200) – Used for temperature control only.
-
Titanium (Ti) – Lightweight and accurate for temp control, but requires care.
Whether you prefer kanthal or stainless steel coils, your choice depends on your vaping style and device compatibility.
Signs You Need to Replace Your Vape Coil
A worn-out or burnt coil can ruin your vaping experience. Here are the most common signs you need a vape coil replacement:
-
Burnt Taste – A burnt vape taste means the coil is damaged or dry. Replace it immediately.
-
Decreased Vapor Production – Weak vapor or inconsistent clouds mean your coil is struggling.
-
Gurgling Sounds – A bubbling noise suggests a flooded coil or residue buildup.
Ignoring these signs can lead to dry hits and poor performance, so replace your coil as soon as symptoms appear.
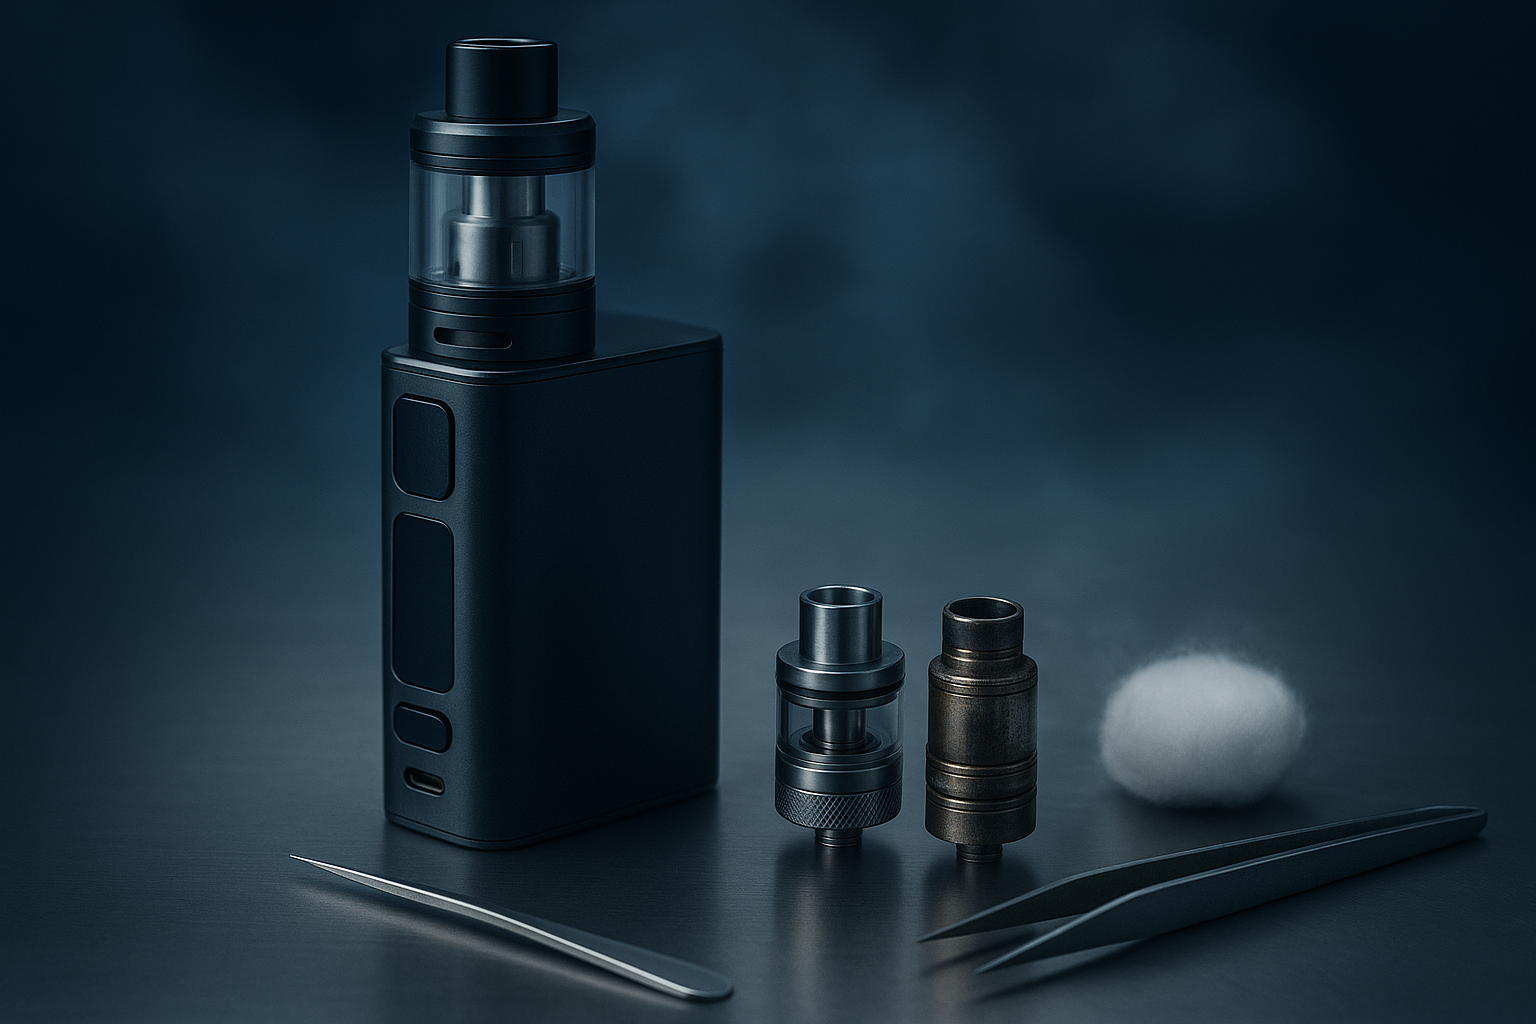
Steps to Replace Your Vape Coil
Replacing a vape coil might sound intimidating for beginners, but it’s actually straightforward once you know the steps.
1. Preparation and Safety Tips
- Always work in a clean, dry area.
- Turn off your vape device to prevent accidental activation.
- Have a tissue or cloth ready to clean up any e-juice residue.
2. Identify the Right Coil
Ensure you purchase the correct replacement for your device. Popular options include Geekvape M Series Coils (5-Pack) and Horizon SAKERZ Coils (3-Pack). Check your device manual for compatibility.
3. Disassemble and Replace
- Remove the tank from your vape device.
- Empty any remaining e-liquid.Unscrew the old coil from the base of the tank.
- Screw in the new coil, ensuring it’s snug but not overtightened.
4. Prime the New Coil
Priming is crucial to avoid dry hits:
- Apply a few drops of e-juice directly onto the exposed wick.
- Fill the tank, reassemble the vape, and allow the coil to soak for 5-10 minutes before use.
How to Make Vape Coils Last Longer
Follow these coil care tips to extend lifespan and enhance flavor:
-
Prime every new coil before first use.
-
Clean your tank weekly to avoid residue buildup.
-
Use balanced e-liquids (50/50 VG/PG) to prevent clogging.
-
Avoid chain vaping — give the wick time to resaturate.
-
Stay within recommended wattage to avoid overheating.
Proper maintenance ensures your coils last longer and deliver consistent flavor.
How to Clean a Vape Coil
Want to know how to clean a vape coil? Try this:
-
Rinse the coil gently with warm water.
-
For deeper cleaning, soak it in vodka or rubbing alcohol for 30 minutes.
-
Rinse again, then let it air dry completely before use.
This works best for rebuildable or reusable coils — not prebuilt disposable ones.
Frequently Asked Questions (FAQs)
Typically 1–2 weeks, depending on usage, wattage, and e-liquid type.
No. Once it’s burnt, you must replace it to avoid inhaling burnt residue.
It wasn’t primed properly. Always soak the wick before vaping.
Not always — but do so when switching between very different flavors.
You’ll get dry hits and a burnt coil right away.
Sub-ohm coils with low resistance (below 0.5 ohms) and high wattage deliver the biggest clouds.
Burnt taste, gurgling, or weak vapor are the main indicators.
Enhance Your Vaping Experience Today
The vape coil is the heart of your device—treat it well, and it will reward you with smooth, flavorful hits every time. Experiencing a burnt taste, weak vapor, or inconsistent performance? It’s likely time for a coil replacement!
How often do you switch out your coils? Got a go-to brand? Share your thoughts in the comments below!
Need high-quality replacements? Explore our top-rated options and stock up now to keep every puff as fresh and satisfying as your first!
Stay in the loop! Don’t forget to subscribe to our newsletter for exclusive deals, tips, and updates to enhance your vaping experience.