A Complete Step-by-Step Vape Coil Cleaning Guide to Extend Coil Life and Enhance Flavor
Tired of burnt hits, dull flavors, and replacing coils way too often? You’re not alone. Many vapers throw away coils long before they actually need to—just because they don’t know this simple secret: a proper vape coil cleaning routine can make your vape taste brand new again.
This vape coil cleaning guide will show you how to clean vape coils properly, extend coil life, and save money by avoiding frequent replacements. Whether you’re using mesh coils, sub-ohm coils, or replaceable coil heads, these methods will help you get the most out of your device.
Quick Navigation
- Why Clean Your Coils?
- Signs It’s Time to Clean
- What You’ll Need
- Step-by-Step Cleaning Guide
- Advanced Cleaning Methods
- Maximizing Coil Lifespan
- Troubleshooting Common Issues
- When Cleaning Won’t Help
- Final Thoughts
Why Clean Your Coils?
Your vape coil is the heating element that vaporizes your e-liquid. Over time, sweeteners and flavoring agents create e-juice buildup that clogs the wicking material and coil wire, leading to burnt vape coil taste, muted flavors, and reduced vapor production.
Without regular vape coil maintenance, you’ll experience issues like coil gunk, poor resistance, or a vape coil not working properly. By learning how to clean vape coils, you can extend vape coil life, improve vapor production, and enjoy cleaner, more satisfying hits.
Signs It’s Time to Clean
Watch for these signs your vape coil needs cleaning:
-
Vape tastes burnt, metallic, or off
-
Vapor feels thin or weak
-
Coil looks dark, crusty, or gunked up
-
You’re refilling e-liquid more often but getting less satisfaction
If this sounds familiar, it’s time to give your coils a proper cleaning and maintenance session before you replace them.
What You’ll Need for Cleaning Vape Coils
Basic Supplies
-
Warm distilled water
-
Paper towels or a clean cloth
-
Small bowl for soaking
-
Tweezers (optional)
For Deep Cleaning (Optional)
-
90%+ isopropyl alcohol
-
Ultrasonic cleaner for vape coils
-
Soft-bristled toothbrush
These tools help with vape coil wire cleaning and e-liquid residue removal, restoring your vape atomizer and keeping your vape tank maintenance routine easy.
Step-by-Step Vape Coil Cleaning Guide
1. Remove the Coil Safely
Turn off your vape and let it cool. Disassemble the vape tank and unscrew the coil carefully.
2. Rinse with Warm Water
Run warm distilled water through the coil to flush out gunk and debris. Avoid using high pressure that could damage the coil resistance wire or wicking material.
3. Soak for Deeper Cleaning
For better results, clean vape coils with water by soaking them for 10–15 minutes (up to 30 for sticky buildup). This loosens e-liquid residue that rinsing alone can’t remove.
4. Dry Completely
Shake out excess water and air-dry for 12–24 hours. Never use a hairdryer or oven—excess heat can warp the coil head or cotton wick.
Advanced Vape Coil Cleaning Methods
Alcohol Soak
For stubborn, burnt vape coil taste, soak the coil in isopropyl alcohol for 15–20 minutes. Rinse thoroughly and air-dry. This is one of the best ways to clean vape coils when simple water cleaning doesn’t cut it.
Ultrasonic Cleaner Vape Coils
An ultrasonic cleaner filled with distilled water can remove microscopic residue through vibration—ideal for mesh vape coils or sub-ohm coils.
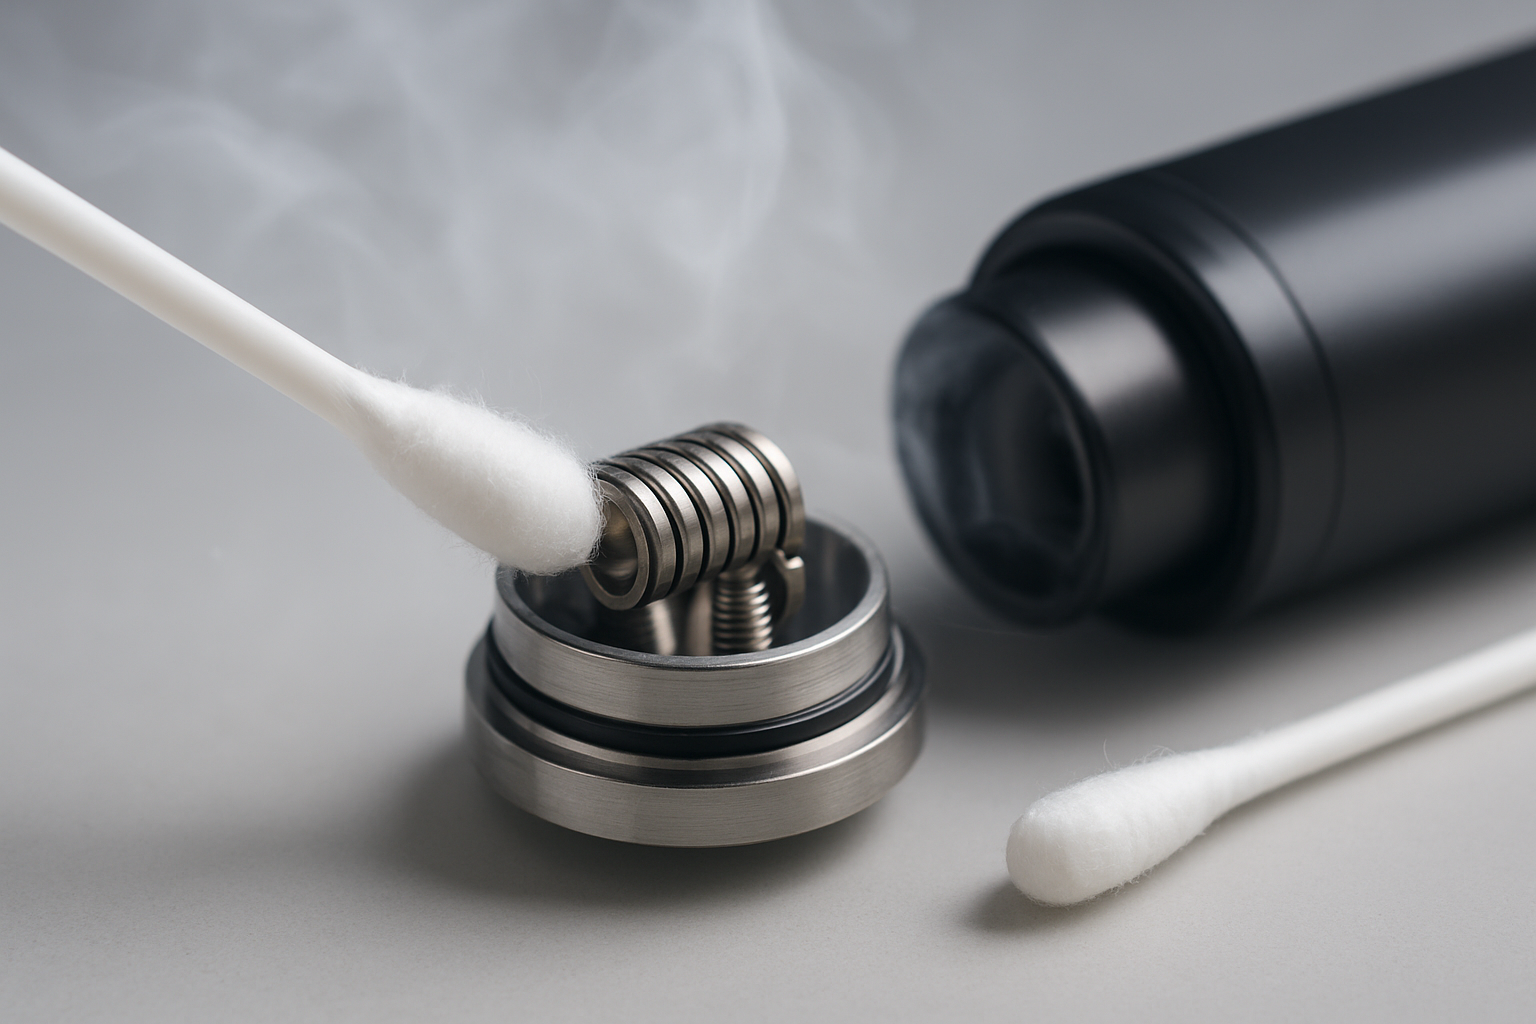
Gentle Brushing
Use a soft toothbrush to lightly brush the coil surface. Always move in one direction to avoid damaging the coil wire.
Maximizing Vape Coil Lifespan
Here are a few vape coil maintenance tips to make your coils last longer:
-
Use cleaner e-liquids with fewer sweeteners to prevent coil gunk buildup
-
Prime vape coils properly before first use—let the cotton soak for 5–10 minutes
-
Avoid chain vaping; let your coil cool between hits
-
Stay within the recommended wattage range to prevent burning the cotton
-
Perform vape mod maintenance regularly to keep all components clean
These small habits extend vape coil life and save you money on replacements.
Troubleshooting Common Vape Coil Issues
-
Burnt taste after cleaning: Cotton might already be scorched—replace the coil
-
Low vapor production: Coil may still be damp—dry longer
-
Gurgling or leaking: Shake out moisture and check O-rings
-
Vape coil not firing: Check for wire damage or incorrect installation
If cleaning doesn’t solve the problem, it’s time for a replacement vape coil.
When Cleaning Won’t Help
Replace your coil if you notice:
-
Burnt or brown cotton
-
Broken or frayed wires
-
Rust or corrosion on the coil
-
Persistent burnt taste even after cleaning
Most coils can handle 2–3 cleanings before needing replacement. When that time comes, you can buy vape coils or replacement coil heads online. Check out vape coil deals, discount vape coils, or top-rated vape coil brands to save money.
Save Money and Improve Your Vaping Experience
By mastering how to clean vape coils, you’ll not only fix burnt vape taste but also replace vape coils less often—saving money and keeping your vape running like new.
Regular vape coil maintenance is the key to better vapor production, smoother flavor, and longer-lasting heating elements.
Don’t miss out on more vaping accessories, cleaning hacks, and expert vape device care tips. Subscribe to our newsletter for exclusive updates, cheap vape coil offers, and vape coil maintenance guides tailored for every setup.
Got your own coil cleaning tricks? Drop them in the comments—we’d love to hear what works for you!